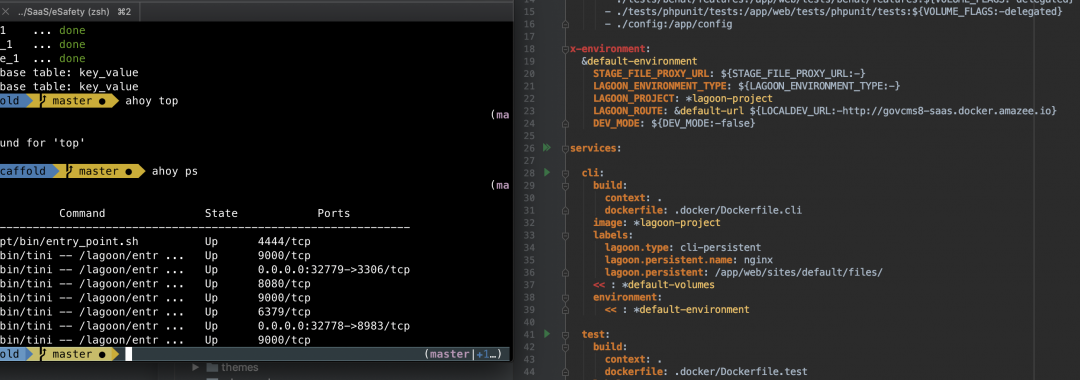
GovCMS developers, it’s time to build with Kubernetes & Lagoon!
This article provides the steps you need to set up a local development environment and upgrade your GovCMS website. Here is an overview of what each step entails – git cloning & setup commands, syncing your database, and upgrading GovCMS itself so you can code in confidence on this new hosting platform. With Salsa Digital and Amazee.io as partners for Drupal 8, 9 and 10 technology stacking behind the scenes – make sure that those websites soar like never before!
<TL;DR>
# SETUP
git clone https://www.github.com/govcms/govcms8-scaffold.git {INSERT_PROJECT_NAME} && cd $_
ahoy up
ahoy install
ahoy login
ahoy cex
<?php print 'GovCMS is great!'; ?>

# SYNC DATABASE
ahoy refresh-db

# UPGRADE GOVCMS
ahoy down (will destroy your database)
ahoy pull
ahoy build
As technology advances, so does the complexity of setting up software development environments. However, I recently had an opportunity to simplify this process by building a GovCMS SaaS website using a new hosting platform. In this article, I share my experience and provide technical details on how to configure local environment settings efficiently, as well as tips for running development tools such as behat and phpunit smoothly.
GovCMS hosting with Lagoon and Kubernetes overview
GovCMS, the cutting-edge hosting platform from Australia’s digital transformation agency, has revolutionised web development and deployment with its Kubernetes foundation. By leveraging prebuilt Docker container images along with Lagoon and Kubernetes capabilities, GovCMS puts existing solutions to shame by providing enhanced scalability for unparalleled efficiency.
GovCMS is a hosting platform dedicated to providing efficient, cost-effective solutions to power the digital experiences of government agencies. GovCMS boasts state-of-the-art technologies, looking towards the future in its use of innovative hosting options such as Lagoon and Kubernetes. By deploying GovCMS with this next-generation technology, government agencies can benefit from a high-performance, secure platform to operate their website and save money on infrastructure costs. Kubernetes in GovCMS hosting provides the cutting-edge scalability, stability and redundancy necessary for reliable operation and near-instant response times—helping government agencies take advantage of the opportunities that GovCMS brings for modernity and cost savings.
The installation of GovCMS on the Lagoon platform is extremely easy. All the necessary files and configurations are already pre-installed, thus speeding up the deployment process significantly. To configure local environment settings efficiently, developers can leverage a set of software available (which include Docker Compose, Ahoy, and Pigmy.
What you get with the new GovCMS setup out of the box
- Complete local setup, using Docker containers:
- PHP
- Nginx
- MariaDB
- Redis
- Apache Solr server
- CLI
- Test
- Headless Chrome
- Code linting
Used for Drupal coding standards validation. - Coding standard and PHP compatibility code validation.
- Behat and unit testing framework. Just start adding your tests right away.
Getting started with GovCMS local setup
Setting up your local GovCMS development environment is easier than ever. With software prerequisites such as a Git client, Docker Desktop and Pigmy, you can quickly get started on your project. By combining these tools with the power of Ahoy – a task runner that simplifies GovCMS set-up – you’ll be well on your way to mastering the process. With the right guidance and thorough testing, you’ll soon have a perfectly running local GovCMS environment in no time!
Local software prerequisites
Before getting started with GovCMS you will need a few tools, preinstalled on your development computer:
- Git client
- Docker (direct install link for Mac or Windows)
- Pigmy (how to install link)
- Ahoy (installation instructions link); or use brew package manager: `brew install ahoy –HEAD`
Consider the type of the hosting – SaaS or PaaS
Note! This step is not required to run a GovCMS site in the local environment.
When investigating what type of hosting is suitable for your business, GovCMS SaaS (Software as a Service) and GovCMS PaaS (Platform as a Service) are two options to consider. GovCMS SaaS is an exciting option that offers a fully managed account and allows users to self-manage their website appearance. On the other hand, with a GovCMS PaaS plan, your business can benefit from a fully flexible hosting functionality, which will be proactively managed by Govam’s team. Both solutions come with advantages, so it’s important to carefully evaluate which type of hosting is right for your agency needs.
Things to get sorted if you plan to run your GovCMS website in the GovCMS Kubernetes cluster:
- A hosting agreement and an account with GovCMS – visit https://www.govcms.gov.au/
- GitLab account (to be set up by the GovCMS team).
GovCMS repository
To build a GovCMS website you will need a copy of the GovCMS Scaffold repository [https://github.com/govCMS/govcms]. Clone it into your project folder and run a few commands to get it running.
Starting your local GovCMS environment in 4 steps
Step 1: Getting the codebase into your dev environment
git clone -b 2.x-develop git@github.com:GovCMS/GovCMS.git {INSERT_PROJECT_NAME}
cd {INSERT_PROJECT_NAME}
composer install
Step 2: Configure the local dev environment
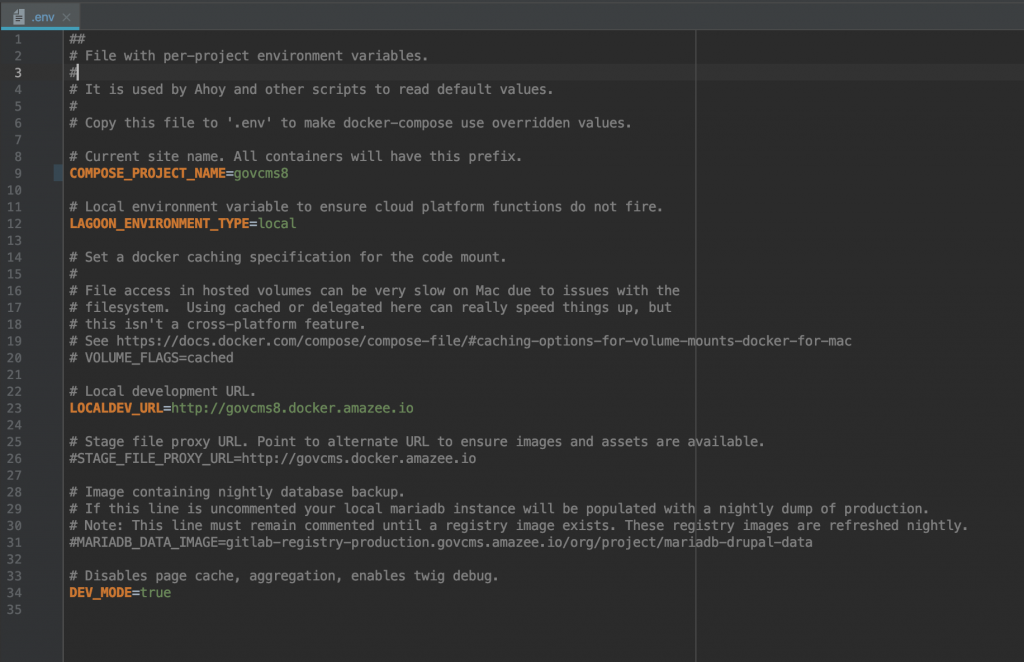
Copy the .env.default file into the .env file and modify it as required:
cp .env.default .env
Update the LOCALDEV_URL variable, set it to your desired local URL. This URL will be used to run your local copy of the site:
# Local development URL.
LOCALDEV_URL=http://govcms8.docker.amazee.io
To disable the local cache and twig cache, make sure your .env file has this line:
DEV_MODE=true
Step 3: Start your environment locally
The next command starts some helper containers, including DNS proxy:
pygmy up
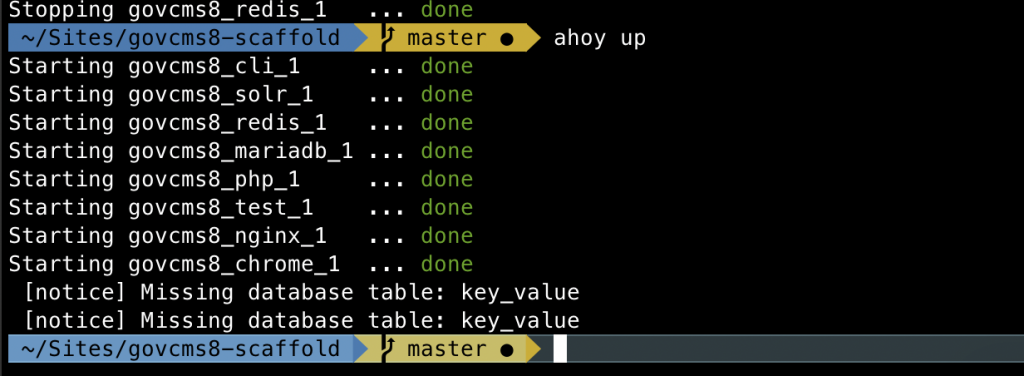
The next command spins up the local environment:
ahoy up
Step 4. Install GovCMS
The next command installs vanilla GovCMS, run this command once:
ahoy install
After your GovCMS is installed, confirm you can access it – navigate to the URL configured in the LOCALDEV_URL variable.
Next, you may export your local configuration:
ahoy cex
and commit it to Git.
That’s it. Your new GovCMS website should be running on your local environment. Use ahoy login to get the login link.
As you work on the project and build your site structure – such as content types, block types, paragraph types, views and so on, GovCMS team made it easy to export your Drupal configuration with ahoy cex, or ahoy cim to import it. Apparently, ahoy down and ahoy build simplifies the environment reset when you switch to another Git branch to work on another feature, or maybe when you need to test your work in a fresh environment.
How to set local environment URL in GovCMS
This step is described the Step 2. Configure local environment above, just update the value of the LOCALDEV_URL variable in the .env file and rebuild your local environment by running ahoy build
Exploring GovCMS with Default Content
To explore GovCMS, activate a few example content modules. Once you installed your GovCMS website, enable the GovCMS Default Content module
ahoy drush en govcms8_default_content
How to synchronise the local database from your production website in GovCMS on Lagoon
Before you can start synchronising production database to your local environment, one-time setup is necessary. Refer to the steps below:
- How to create a personal access token for GovCMS
- How to add a personal public SSH key to GitLab for GovCMS
- How to use the personal access token before pulling production database backup
Once your website is running in Kubernetes cluster (aka GovCMS SaaS), nightly database backups are available via an ahoy command:
ahoy refresh-db
The very first thing to get access to the latest nightly database dump, developers need to set up their personal access token:
- Create personal access username and a personal access token from GovCMS GitLab website.
- Add personal public SSH key to GitLab: https://projects.govcms.gov.au/profile/keys
How to create a personal access token for GovCMS
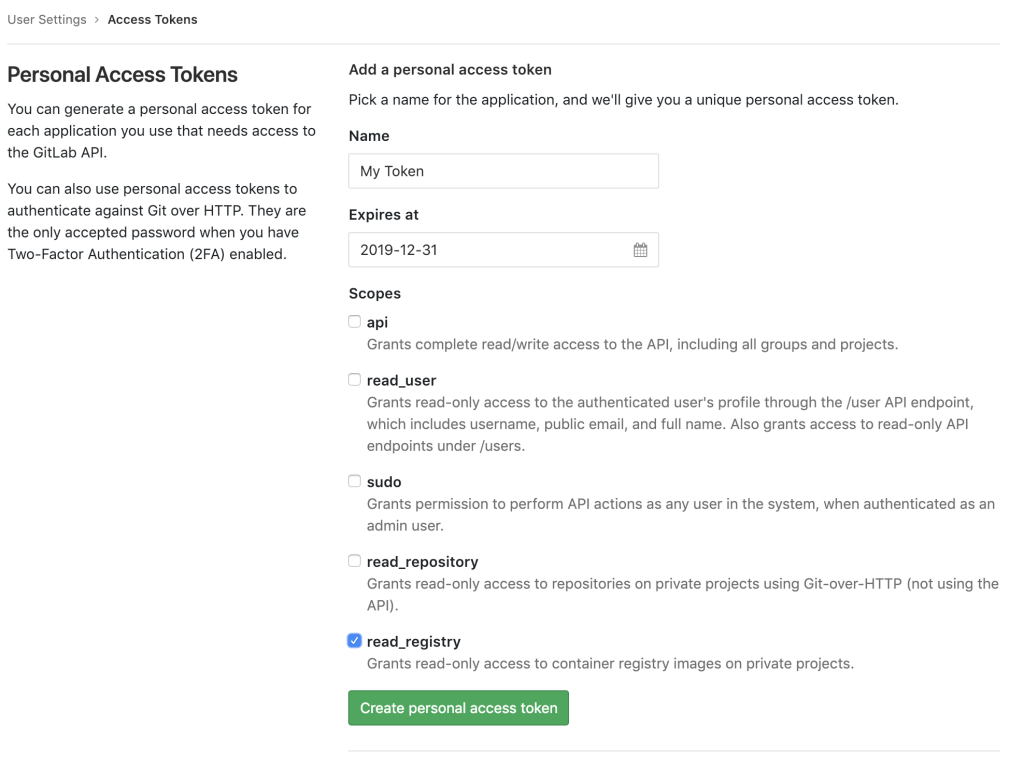
To create a personal access token, follow these simple steps:
- Navigate to https://projects.govcms.gov.au/profile/personal_access_tokens
- Set Token name
- Set Token expiration date
- Select
read_registryin Scopes - Click the
Create personal access tokenbutton.
 How to add a personal public SSH key to GitLab for GovCMS8
- Copy your public key (e.g.
pbcopy < ~/.ssh/id_rsa.pub) - Login to your personal GitLab account
- Navigate to https://projects.govcms.gov.au/profile/keys
- Paste your public key and press the “Add key” button
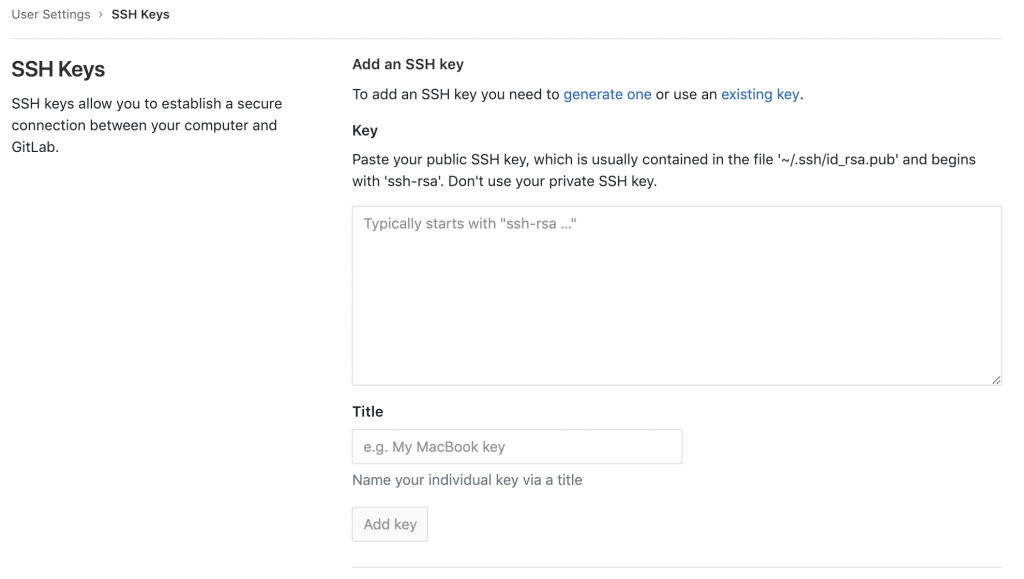

How to use the personal access token before pulling production database backup
In order to use the personal access token created above, login into GitLab from a terminal application:
docker login gitlab-registry-production.govcms.amazee.io -u <user> -p <token>
How to override your local configuration in GovCMS
In some cases, you may need to have a local configuration different from the one run in the Lagoon. For example, you may have the shield module disabled and the stage_file_proxy module enabled.
As you configure your local environment and export local configuration with ahoy cex, just explore any new or modified configuration files that modify your local environment. Copy the files that are relevant to your local configuration into the config/dev/ directory and commit to the Git repository.
In order to use the local configuration overrides, your team has to run the ahoy cim dev command, which is an equivalent of running drush cim; drush cim dev —partial
How to use drush in the local GovCMS environment
Drush commands are available locally via ahoy – e.g. ahoy drush status
How to access PHP logs in GovCMS locally
If you run into any unexpected issues and receive a 5xx server error, you could explore PHP logs with this command:
ahoy logs php
